Your driveway takes a beating every year. Tennessee's heat, humidity, freeze-thaw cycles, and constant UV exposure chip away at asphalt faster than most homeowners realize. Following the right residential pavement sealing steps is the most cost-effective way to stop that deterioration before it turns into a full replacement. This guide walks you through everything you need to know, from checking the weather forecast to laying the final coat, so your driveway looks sharp, holds up under traffic, and adds real value to your property.
Table of Contents
- Understanding the prerequisites for a successful pavement sealing
- Preparing your driveway: cleaning, repairing, and surface prep
- Step-by-step sealcoat application process for residential pavements
- Drying, curing times, and post-application care
- Common mistakes in residential pavement sealing and how to avoid them
- Why timing and maintenance make all the difference in pavement sealing
- Explore expert sealcoating services for your Tennessee home
- Frequently asked questions
Key Takeaways
| Point | Details |
|---|---|
| Sealcoat timing matters | Apply sealcoat during warm, dry weather for best adhesion and durability. |
| Surface prep is critical | Thorough cleaning and crack repair prevent adhesion issues and extend life. |
| Two coats are best | Two thin coats protect better and last longer than one thick coat. |
| Allow proper curing | Keep vehicles off sealed pavement 24-48 hours to avoid damage. |
| Regular maintenance saves | Sealing every 2-3 years delays costly repairs and improves curb appeal. |
Understanding the prerequisites for a successful pavement sealing
Before you crack open a bucket of sealer, conditions have to be right. Skipping this part is the single most common reason sealcoats fail within a year. The pavement sealing process is not forgiving of shortcuts.
Weather is your first checkpoint. Sealcoating thrives on temperatures between 50°F and 90°F, with low humidity and no rain forecasted for 24 to 48 hours after application. In Tennessee's suburbs, late spring and early fall tend to hit that window most consistently. Midsummer afternoons can actually be too hot, causing the sealer to dry too fast and leave an uneven finish.
Surface condition matters just as much as weather. Before any materials touch the ground, the pavement must be:
- Dry and free of standing water or moisture
- Clean of dirt, leaves, and loose debris
- Free of oil stains, gasoline spots, or chemical contamination
- Structurally sound with cracks filled and edges intact
Here is a quick reference for what you will need before starting:
| Category | Items needed |
|---|---|
| Surface prep tools | Stiff-bristle broom, pressure washer, wire brush |
| Repair materials | Hot rubberized crack filler, oil spot primer |
| Sealing materials | Asphalt sealcoat, fine sand additive |
| Application tools | Squeegee, spray wand or pump sprayer, edging brush |
| Safety gear | Gloves, safety glasses, rubber boots |
Pro Tip: Add a sand additive to your sealcoat mix. It creates a slight texture that improves traction, especially on sloped Tennessee driveways where rain runoff can make sealed surfaces slippery.
Good asphalt surface prep separates a sealcoat that lasts seven years from one that peels in two. With the right conditions and tools ready, let's look at the detailed preparation steps.
Preparing your driveway: cleaning, repairing, and surface prep
This is where the real work happens. Most homeowners underestimate how much preparation affects the final result. A clean, repaired surface gives the sealer something solid to bond with. A neglected one just peels.

Professional crews prioritize mechanical sweeping, pressure washing, crack sealing with hot rubberized material, and oil spot treatments to ensure adhesion and durability. Follow the same standard they hold themselves to.
Step-by-step surface preparation:
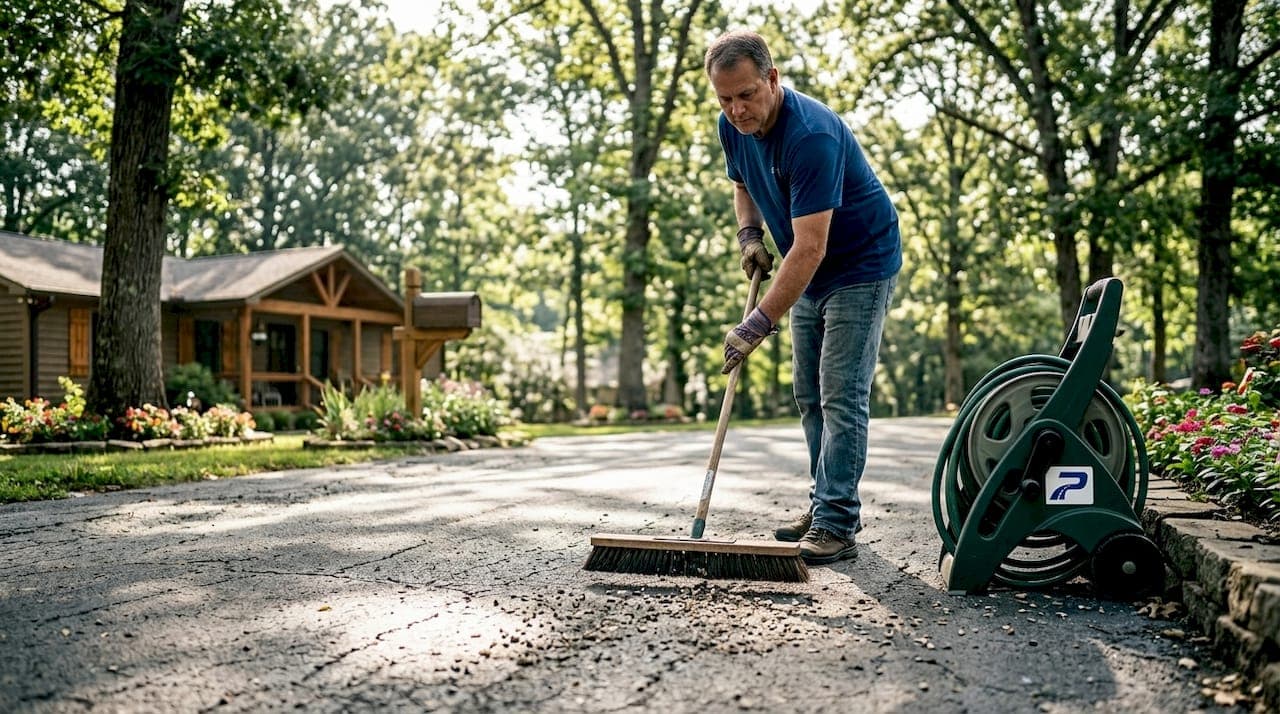
- Sweep thoroughly. Use a stiff-bristle push broom or a blower to remove all loose debris. Pay attention to edges where dirt collects along curbs and landscaping borders.
- Pressure wash the entire surface. Work from the top down, pushing water and grime toward the street. Use at least 2,000 PSI. Let the surface dry completely, which typically takes 24 hours in warm weather.
- Inspect for cracks. Walk the driveway slowly and mark every crack wider than a hairline. Cracks less than a quarter-inch can be filled with liquid crack filler. Cracks wider than half an inch need hot rubberized material or backing rod before filling.
- Fill all cracks. Apply hot or cold pour crack filler, overfill slightly, and let it cure flat. Sand the area lightly if it crowns above the surface.
- Treat oil spots. Apply an oil spot primer using a brush directly onto contaminated areas. Let it dry fully. Without this step, oil-contaminated asphalt will repel the sealer and leave you with soft, unprotected patches.
- Do a final dry check. Press your hand to the surface in several spots. Any moisture means you wait longer.
Common trouble spots to watch for:
- Low areas where water pools after rain
- Edges that have crumbled or separated from the driveway border
- Alligator cracking (a web of small cracks that signals deeper structural issues that sealing alone cannot fix)
Pro Tip: If you find alligator cracking, sealcoating over it is not a fix. Understanding the difference between sealcoat vs resurfacing can save you from paying twice for the same problem.
Once the surface is properly prepared, the stage is set for the sealcoat application itself.
Step-by-step sealcoat application process for residential pavements
This is where the home pavement sealing guide gets specific. Application technique determines how the finished surface looks and how long it holds up. One wrong move here, like applying too thick or working in direct afternoon sun, and you undo all that prep work.
Two thin coats outperform a single heavy coat for both durability and appearance. Apply the second coat 12 to 24 hours after the first. This is not optional advice, it is how the chemistry works.
Application steps in order:
- Stir the sealer thoroughly. Settled sand and aggregate in the bucket need to be fully mixed. Use a drill with a paddle mixer for large containers.
- Start at the garage or top edge. Pour a ribbon of sealer across the full width, roughly 18 inches wide, and work it downhill toward the street.
- Use a squeegee for the first pass. A squeegee forces sealer into the surface texture and ensures contact with the asphalt. This is how to seal residential pavement correctly from the ground up.
- Cut the edges by hand. Use a brush to work sealer into the edges along curbs, garden borders, and the garage apron. These narrow areas are where most DIY jobs look sloppy.
- Apply the second coat in the opposite direction. If your first pass ran left to right, run the second front to back. This cross-hatching technique fills any thin spots the first pass left behind.
- Keep coats thin and even. If the sealer puddles or pools, you are applying too much at once.
One vs. two coat comparison:
| Feature | Single coat | Two thin coats |
|---|---|---|
| Durability | 2 to 3 years typical | 4 to 6 years typical |
| Appearance | Adequate | Uniform, deep finish |
| Drying time | Faster | 12 to 24 hours between coats |
| Risk of peeling | Higher | Lower |
| Material cost | Lower | Moderate increase |
The sealcoat application benefits for curb appeal alone are worth the extra material and time. A freshly sealed driveway in a well-maintained Tennessee neighborhood signals attention to detail that buyers notice and appraisers factor in.
Pro Tip: Avoid applying sealcoat between noon and 3 p.m. on hot Tennessee summer days. The sealer can skin over quickly on the surface while staying wet underneath, which causes bubbling and uneven color.
Following proper application, understanding drying and curing is the next critical step.
Drying, curing times, and post-application care
The sealer is down. Now the waiting starts. This phase is where impatient homeowners undo good work by driving on the surface too soon or letting sprinklers hit it overnight.
Sealants require 24 to 48 hours before vehicle traffic. Foot traffic is typically safe after 4 to 6 hours. Rain during curing can wash sealer off entirely, especially within the first 12 hours.
What affects how fast your sealcoat cures:
- Temperature: Warmer temps speed up curing. Anything below 60°F slows it significantly.
- Humidity: High humidity traps moisture in the sealer and extends dry time. Tennessee summers with 80% humidity can add 12 or more hours to the cure window.
- Sun exposure: Direct sunlight helps. Shaded driveways dry slower, especially if surrounded by trees.
- Coat thickness: Thicker applications take longer. This is another reason thin coats are better.
At a glance: In ideal conditions (75°F, sunny, low humidity), foot traffic is safe after 4 hours and vehicle traffic after 24. In cooler or humid weather, push that vehicle timeline to 48 to 72 hours without question.
Post-application care checklist:
- Block the driveway with cones or caution tape to keep cars and bikes off
- Redirect sprinkler systems away from the driveway for at least 48 hours
- Avoid sharp turns or tight pivoting for the first week, which can scuff the fresh sealer
- Keep heavy equipment, dumpsters, and utility vehicles off for at least a week
The sealcoat benefits for Tennessee properties specifically account for the state's wide temperature swings. Understanding how humidity affects cure time is pavement maintenance knowledge that pays off every time.
Pro Tip: Schedule your sealing job to finish by late morning on a sunny day. That gives the sealcoat a full afternoon of sun exposure during the critical first hours of curing.
Understanding drying times helps ensure your new sealcoat lasts. Next, let's cover common mistakes to avoid.
Common mistakes in residential pavement sealing and how to avoid them
Knowing the steps for sealing driveways is only half the picture. The other half is knowing what kills the job before it starts.
Rushed jobs and sealing in unsuitable weather account for 62% of premature seal failures. That is a staggering number for something that is entirely preventable with a two-minute weather check.
Mistakes that ruin residential pavement sealing jobs:
- Sealing when air or pavement temperature is below 50°F
- Applying sealer with rain in the forecast within 24 hours
- Skipping crack repair and sealing over active cracks that will telegraph through
- Applying one thick coat instead of two thin ones
- Failing to treat oil spots before sealing, leaving repelled patches
- Not cleaning the surface first, trapping debris under the sealer
- Letting the sealer pool along edges and low spots
"The biggest waste of money in pavement maintenance is applying quality sealer over a surface that was never properly cleaned or repaired. The sealer does not fix the problem, it just buries it temporarily."
Reviewing asphalt terminology helps homeowners communicate clearly with contractors and recognize when corners are being cut. If someone quotes you a job without mentioning crack filling or oil spot treatment, that is a red flag worth acting on.
Avoiding these pitfalls helps you maximize the lifespan and appearance of your pavement. Now let's consider the overall value and timing from an experienced standpoint.
Why timing and maintenance make all the difference in pavement sealing
Most homeowners treat sealcoating as a one-time fix. They seal when they notice the driveway looking rough, then forget about it for a decade. That approach costs significantly more money over time than a simple, consistent schedule would.
Sealcoating is one of the highest-ROI maintenance items for residential pavements because it delays costly full-depth reconstruction. In plain terms, a $300 to $600 sealcoat job every two to three years can push back a $6,000 to $12,000 resurfacing project by years.
In Tennessee's suburban markets, timing matters beyond just personal scheduling. The state's climate creates a narrow ideal window. Late September through early November gives you fading summer heat without the cold snaps that ruin adhesion. Late April through May is the second-best window, once the ground has warmed consistently above 55°F overnight.
What most articles on the home pavement sealing guide topic miss is this: applying sealer too frequently does more harm than good. Layering sealcoat on top of sealcoat that has not worn down enough creates a brittle build-up that cracks in sheets. Every two to three years, not annually, is the professional recommendation for typical residential use.
The homeowners in Tennessee's affluent suburbs who protect their property values best are the ones treating their driveways the same way they treat their roofs, on a maintenance schedule with records of what was done and when. Choosing durable asphalt mix choices on new paving and then following through with regular sealcoating is the combination that produces driveways that look great for 20 or more years.
The uncomfortable truth is that most pavement failures are maintenance failures. The asphalt itself rarely gives out if it is properly sealed, cleaned, and given minor repairs on a reasonable schedule.
Explore expert sealcoating services for your Tennessee home
Knowing the residential pavement sealing steps is valuable. Having a professional team execute them with the right equipment, materials, and timing is what gets you results that last.

Pinnacle Pavement Solutions serves homeowners across Tennessee's suburbs with professional sealcoating services that cover every step of the process, from pressure washing and crack repair to a clean two-coat finish with drone-documented results. We also offer comprehensive asphalt services that pair sealcoating with structural repairs, so you are not just sealing over problems. And if your driveway needs updated borders or address markings, our pavement markings and striping team handles that in the same visit. Reach out for an honest quote and a maintenance plan built around your property.
Frequently asked questions
How often should I seal my residential driveway in Tennessee?
Every 2 to 3 years is the right rhythm for most Tennessee homeowners in low to moderate traffic areas. Sealing more frequently than that can cause brittle buildup that cracks and peels.
Can I apply pavement sealcoat myself, or should I hire a professional?
DIY is possible for small or straightforward driveways, but professional crews follow a repeatable workflow that accounts for surface prep, edge detail, and drying conditions in ways most homeowners overlook.
What weather conditions are best for sealing a driveway?
Temperatures between 50°F and 90°F with low humidity and a clear 24-hour window after application are ideal. In Tennessee, late spring and early fall deliver those conditions most reliably.
How long do I need to wait before driving on a newly sealed driveway?
Sealants require 24 to 48 hours before any vehicle traffic, with foot traffic generally safe after 4 to 6 hours. Humid or cooler Tennessee weather pushes that wait closer to 48 to 72 hours for vehicles.