Your vacation home's driveway is the first thing guests see when they pull up. And if it looks rough, cracked, or dated, that first impression can directly affect your rental bookings and nightly rates. Research shows that a well-maintained arrival experience can raise rental rates by 15 to 30%, which makes following the right vacation home driveway upgrade steps one of the highest-return investments you can make in your property. This guide walks you through everything: planning, materials, installation, and ongoing maintenance.
Table of Contents
- Key takeaways
- Vacation home driveway upgrade steps: planning first
- Step-by-step installation: from subgrade to surface
- Maintaining your upgraded driveway for the long haul
- Driveway design ideas that enhance vacation home curb appeal
- My take: the driveway mistake most vacation homeowners make
- Let Pinnaclepave handle your driveway upgrade
- FAQ
Key takeaways
| Point | Details |
|---|---|
| Plan before you pour | Check local permit requirements and drainage needs before any work begins to avoid costly delays. |
| Material choice matters | Match your driveway surface to your climate, traffic load, and home's architectural style. |
| Subgrade prep is non-negotiable | Proper base preparation prevents sinking and cracking within the first two years of use. |
| Seal it to keep it | Regular sealcoating on a climate-appropriate schedule protects your investment and sustains curb appeal. |
| Design drives bookings | Thoughtful driveway design that aligns with landscaping and home style directly supports higher guest satisfaction and property value. |
Vacation home driveway upgrade steps: planning first
Most homeowners skip straight to picking materials. That's a mistake that costs time, money, and sometimes a work stoppage from your local municipality.
Permits and compliance
Before any gravel, concrete, or asphalt touches the ground, you need to check your local requirements. A driveway project commonly requires two permits: a building or zoning permit and a separate curb cut permit for where the driveway meets the public road. Skipping either one can halt your project mid-build. Permit fees typically run from $100 to $500 or more depending on your county or municipality, so budget for it upfront.
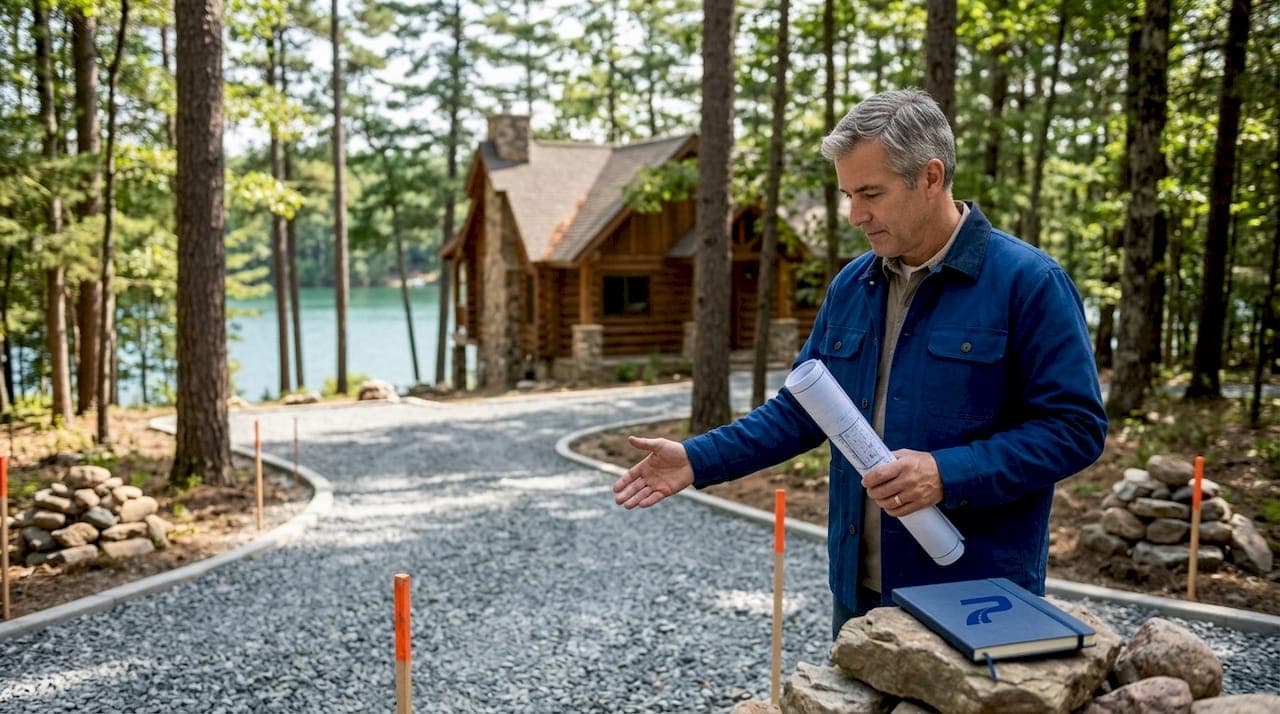
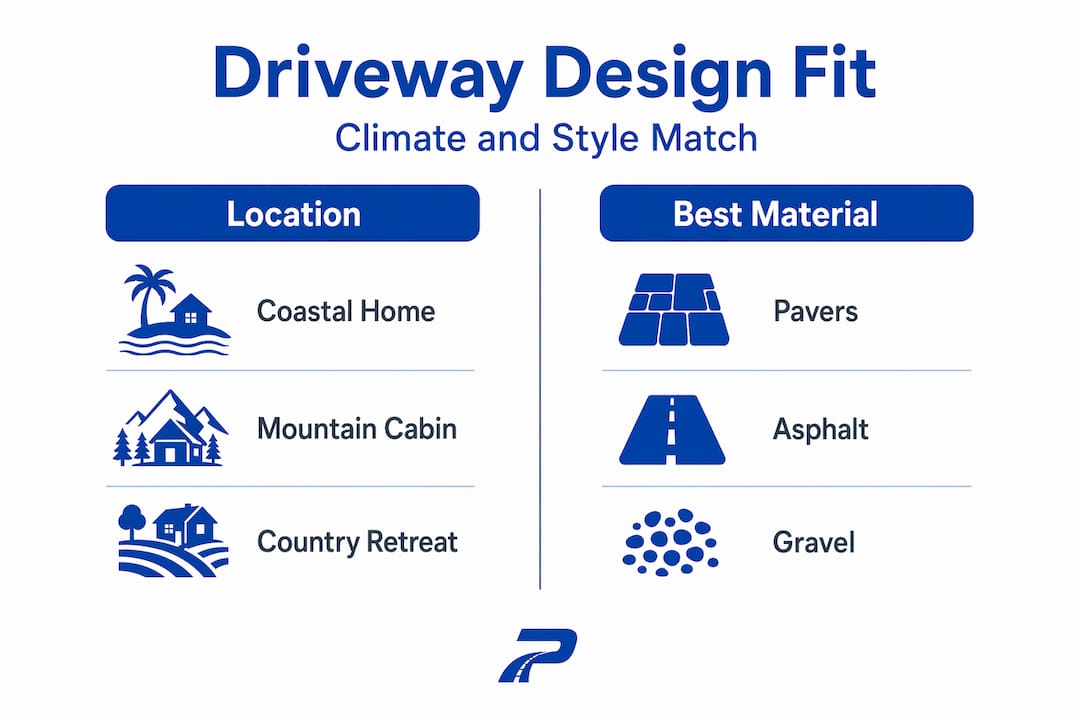
Design alignment and climate matching
Your driveway should feel like it belongs to the property, not like it was added as an afterthought. A beach cottage surrounded by natural landscaping calls for a different material than a mountain cabin or a lakefront home. Consider your climate heavily here. Asphalt performs well in cold climates because it flexes slightly under freeze-thaw pressure. Concrete holds up better in hot, dry regions but cracks more in areas with heavy freeze-thaw cycles. Pavers offer design flexibility and are easier to repair in sections. Gravel is the most affordable upfront but requires the most ongoing attention.
| Material | Best climate | Avg. lifespan | Relative cost |
|---|---|---|---|
| Asphalt | Cold/temperate | 20-30 years | Moderate |
| Concrete | Hot/dry | 30-50 years | Higher |
| Pavers | All climates | 25-50 years | Highest |
| Gravel | Mild/dry | Ongoing maintenance | Lowest |
Tools and pre-project checklist
Before work begins, run through these basics:
- Verify permits are secured and posted
- Mark utility lines (call 811 before any digging)
- Measure driveway dimensions and calculate material quantities
- Plan for drainage slope away from the home's foundation
- Confirm vehicle types that will use the driveway regularly, since heavier vehicles concentrate force that increases cracking risk on undersized surfaces
Pro Tip: If your property sits on a slope, build a drainage channel or French drain alongside the driveway before paving. Water pooling under any surface is the number one cause of premature failure.
Step-by-step installation: from subgrade to surface
Once your plan is locked in, the physical work follows a clear sequence. Rushing or skipping steps here is exactly how driveways fail early.
-
Clear and demo the existing surface. Remove the old driveway material completely. For gravel, this may mean grading and hauling. For concrete or asphalt, demolition equipment breaks up and removes the old slab.
-
Evaluate and prepare the subgrade. This is the most underestimated step in any driveway renovation. The soil beneath your surface carries every vehicle load. If you have soft or clay-heavy soil, install a layer of geotextile fabric before adding base material. Geotextile fabric in soft soils prevents the base from mixing with unstable subgrade and stops premature sinking that typically shows up within the first two years.
-
Install and compact the base layer. A standard base layer uses compacted crushed stone, typically 4 to 8 inches deep depending on expected traffic. Compaction is done in lifts, meaning you compact every 2 to 3 inches of material rather than dumping it all at once. A plate compactor or roller is required here. Hand-tamping is not adequate for vehicular-grade surfaces.
-
Choose and install your surface material. Each material follows its own installation protocol:
- Asphalt: Hot mix asphalt is applied at 2 to 3 inches thick for residential driveways, then compacted while hot with a roller. For a detailed regional breakdown of the process, the asphalt paving process guide covers climate-specific considerations well.
- Concrete: Poured over a compacted base with rebar or wire mesh reinforcement. Concrete overlays are walkable within 24 hours and drivable within 48 to 72 hours depending on weather.
- Pavers: Set on a sand-bedded compacted base. Joints are filled with polymeric sand and compacted in place. No curing wait time.
- Gravel: Spread in layers and compacted, with edging installed to contain the material and prevent spreading.
-
Grade for drainage. Regardless of material, your finished surface needs a 1% to 2% cross slope to direct water off the driveway. This step is done during or immediately after surface installation.
-
Allow proper cure time before full use. Asphalt should rest 3 to 5 days before normal traffic, longer in hot weather. Concrete needs 7 days minimum before any vehicle use.
Pro Tip: New asphalt turns a gray color as it cures. Wait until it returns to a deep black before driving on it. That color shift tells you the oils have fully settled and the surface is ready.
| Surface | Install time | Cure/settle time | DIY feasibility |
|---|---|---|---|
| Asphalt | 1-2 days | 3-7 days | Low |
| Concrete | 1-2 days | 7 days min. | Low |
| Pavers | 2-5 days | Immediate | Moderate |
| Gravel | 1 day | Immediate | High |
Maintaining your upgraded driveway for the long haul
Upgrading the driveway is not a one-time event. What you do after installation determines how long it looks good and performs well. Driveway maintenance for vacation homes is especially tricky because the property sits unoccupied for stretches of time, and damage that goes unnoticed between visits tends to compound fast.
Sealcoating is the single most cost-effective maintenance step for asphalt. Sealcoating frequency varies by climate: properties in areas with severe freeze-thaw cycles need resealing every 1 to 2 years. Moderate climates call for every 2 to 3 years. Mild or UV-heavy regions can stretch to every 3 to 4 years. Knowing which category your vacation home falls into saves you from both over-spending and neglect. The impact of driveway sealing on sustained curb appeal is well-documented and directly affects how guests perceive the property on arrival.
For winter care on concrete driveways, avoid calcium chloride and rock salt ice melts entirely. These chemicals react with calcium hydroxide in concrete, causing surface crumbling and scaling. Use sand or kitty litter for traction instead.
Here is a practical maintenance checklist to run through each season when you visit:
- Inspect for new cracks (anything wider than a quarter inch needs prompt filling)
- Clear debris, leaves, and standing water from the surface
- Check driveway edges for erosion or soil migration
- Look for oil stains and treat them before resealing (oil prevents sealcoat adhesion)
- Confirm drainage channels are clear and flowing correctly
Pro Tip: Schedule a sealcoating application the week before peak rental season starts. Fresh sealcoat makes an asphalt driveway look brand new and communicates to guests that the property is well-managed.
Driveway design ideas that enhance vacation home curb appeal
Once the structural work is solid, design is what separates a functional driveway from one that genuinely draws guests in. Luxury homeowners consistently treat the driveway as a core element of property presentation, requiring it to work cohesively with landscaping and architecture.
The most impactful design moves do not always cost the most. Consider these approaches:
- Paver borders on asphalt. A band of contrasting pavers around the perimeter of an asphalt driveway adds visual structure without the full cost of an all-paver installation.
- Low-voltage path lighting. Solar-powered or hardwired driveway lights improve nighttime arrival safety and add significant visual appeal in photos and listings.
- Planted edges and native shrubs. A low-maintenance planting strip along the driveway softens the hardscape transition and makes the property feel more welcoming. Connecting outdoor living design principles to your driveway entrance creates a cohesive arrival sequence guests remember.
- Defined turnaround space. If your property accommodates multiple guests or large families, a pull-through or turnaround area is a practical feature that guests notice and appreciate.
- Texture and pattern in concrete. Stamped or brushed concrete finishes add grip and visual interest without extra structural cost.
Guest accessibility matters too. Keep grades below 12% slope to avoid scraping low-clearance vehicles. Make sure the transition from street to driveway is smooth. If you host guests with mobility needs, a widened entry and a level approach to the home entrance go a long way.
Pro Tip: Good driveway design balances function, safety, and visual appeal with the home's overall architecture. Design the driveway as part of the front-of-property experience, not as an isolated surface.
My take: the driveway mistake most vacation homeowners make
I've seen a lot of vacation home upgrades, and the driveway is almost always the last thing that gets attention and the first thing guests notice. That disconnect is what creates the problem.
What I've learned is that most homeowners treat the driveway as purely functional. They pour gravel or patch old asphalt, then spend their renovation budget on interiors. But guests form their opinion of a rental property in the first 30 seconds after pulling in. That moment is 100% the driveway's job.
The other mistake I see constantly is skipping proper subgrade work to save money upfront. It never saves money. A driveway that sinks or cracks within two years costs more to fix than doing it right the first time. Every contractor who is worth hiring will tell you that the work you cannot see is what determines how long the work you can see actually lasts.
My honest advice: treat your driveway upgrade the same way you treat a kitchen renovation. Budget for it properly, plan it with the whole property in mind, and get professional installation on the structural elements even if you handle maintenance yourself. The return on investment is real, especially in a competitive rental market where driveway upgrades yield high ROI when tied to a strong arrival experience.
— Dillan
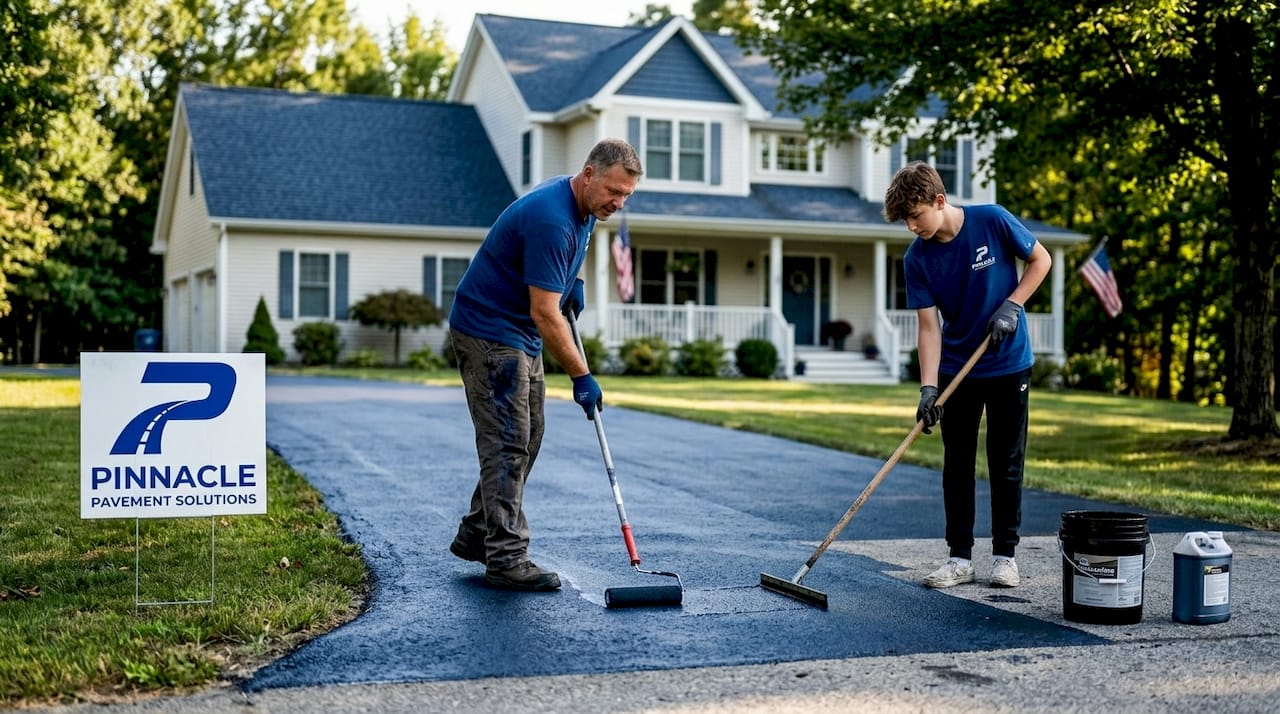
Let Pinnaclepave handle your driveway upgrade
If you are ready to move forward and want the job done right the first time, Pinnaclepave brings professional-grade asphalt paving, sealcoating, and surface work to vacation properties across Tennessee and the Southeast.

The team at Pinnacle Pavement Solutions handles every phase of the process, from material selection and base preparation to final sealing and long-term maintenance schedules. Whether you need a full asphalt driveway installation or want to protect an existing surface with professional-grade sealcoating services, Pinnaclepave brings the equipment, expertise, and honest pricing your property deserves. Visit Pinnaclepave to request a consultation and get a clear quote tailored to your property.
FAQ
What permits do you need for a vacation home driveway?
Most jurisdictions require both a building or zoning permit and a curb cut permit before driveway construction begins. Skipping either can result in work stoppages and fines, so verify requirements with your local municipality before any ground is broken.
What is the best driveway material for a vacation home?
Asphalt is a strong choice for cold or temperate climates, while concrete performs well in hot and dry regions. Pavers offer the most design flexibility and are the easiest to repair in sections, making them popular for high-visibility vacation properties.
How often should a vacation home driveway be sealed?
Sealcoating frequency depends on your climate. Properties in freeze-thaw regions should reseal every 1 to 2 years, while moderate climates call for every 2 to 3 years, and mild or UV-heavy areas can wait 3 to 4 years between applications.
Can a driveway upgrade increase vacation rental income?
Yes. A well-maintained driveway and arrival experience can raise nightly rental rates by 15 to 30% by improving guest perception and creating a stronger first impression that directly influences reviews and repeat bookings.
How long before you can drive on a new asphalt driveway?
New asphalt should have at least 3 to 5 days before regular vehicle traffic, and longer during hot weather. Waiting until the surface returns to a deep black color is a reliable indicator that curing is complete and the asphalt has fully set.