
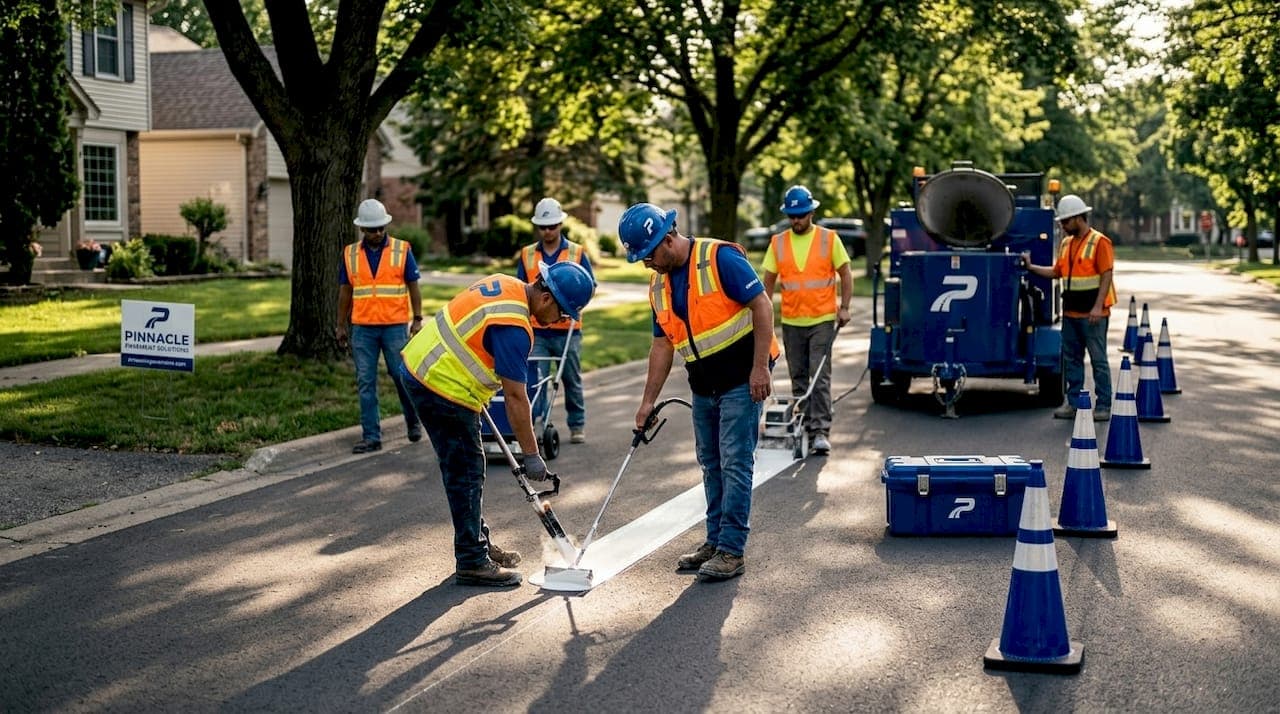
Thermoplastic marking installation is the process of heating solid thermoplastic material to between 350°F and 450°F, then applying it to a prepared pavement surface using specialized melters and applicators. The result is a durable, skid-resistant line that outlasts paint by years and holds up under heavy traffic, UV exposure, and freeze-thaw cycles. Knowing how to install thermoplastic markings correctly separates a marking that lasts a decade from one that peels in a season. This guide covers every stage, from equipment selection through surface prep, application, and troubleshooting, so you get professional results the first time.
What equipment do you need to install thermoplastic markings?
The right equipment is not optional. Thermoplastic application requires tools that maintain precise heat, distribute material evenly, and embed glass beads before the surface cools.
Here is what you need on site before you start:
- Melter/applicator unit: A kettle-style or truck-mounted melter heats the thermoplastic to working temperature. Kettle units work well for smaller jobs like parking lots and sports courts. Truck-mounted systems are standard for road striping.
- Preheater or propane torch: Used to warm the pavement surface before application, especially in cooler weather. TxDOT recognizes specialized pavement heating devices as effective tools for raising surface temperature and removing residual moisture.
- Extruder or screed box: Controls line width and thickness during application. Extruders are preferred for straight lines; screed boxes work well for symbols and crosswalks.
- Glass bead dispenser: Mounted directly on the applicator to drop beads onto the still-hot marking immediately after it is laid.
- Thermocouples or infrared thermometers: CyPaint recommends using these tools to monitor material temperature throughout the job and catch temperature drops before they cause adhesion failure.
- Safety gear: High-visibility vests, heat-resistant gloves, safety glasses, and steel-toed boots are non-negotiable. For active roadway jobs, consult current construction site safety protocols to set up proper traffic control zones.
- Layout tools: Chalk lines, measuring tape, and marking chalk for pre-marking line positions before you apply material.
Surface prerequisites matter just as much as equipment. The pavement must be clean, dry, and structurally sound. Cracked or crumbling asphalt will not hold thermoplastic regardless of how well you apply it. You also need to know your substrate type before you start, because concrete and low-bitumen asphalt require a primer coat that standard asphalt does not.
Pro Tip: Always preheat your applicator and hoses before loading thermoplastic. Cold metal pulls heat out of the material fast, causing premature thickening that clogs equipment and ruins your first pass.
How do you prepare the surface before applying thermoplastic?
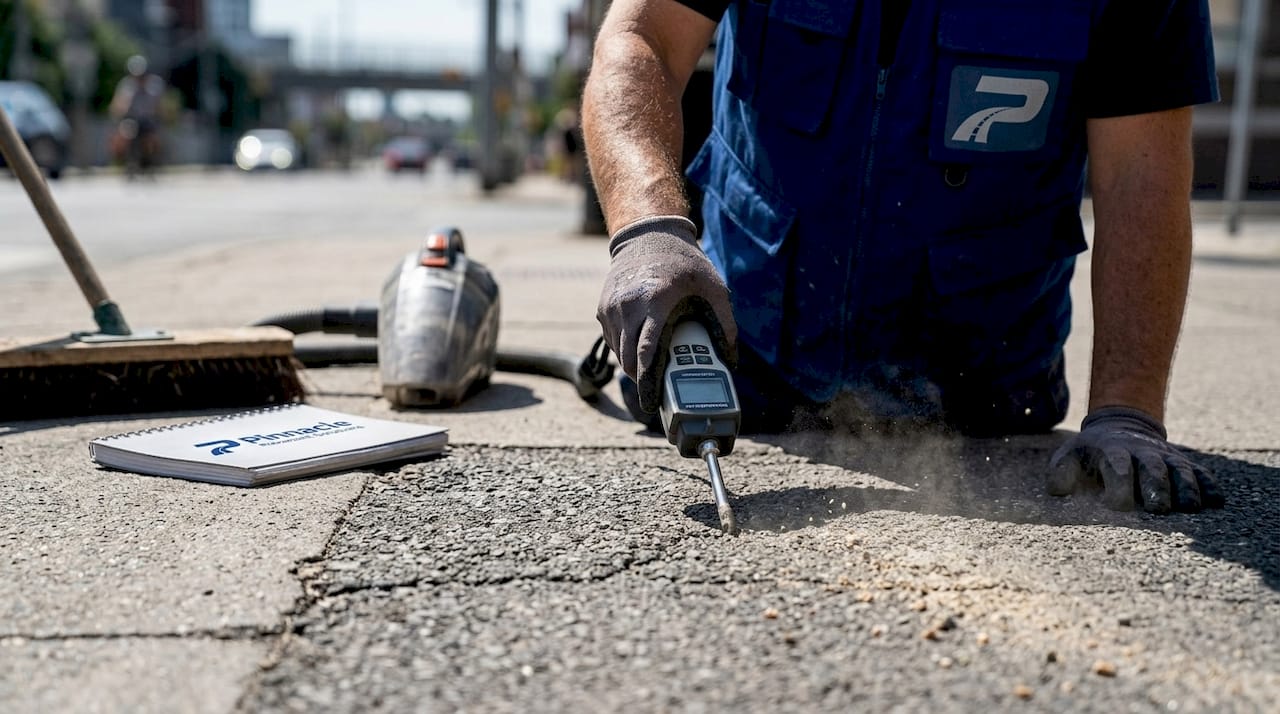
Surface preparation is where most failed thermoplastic jobs begin. Poor prep leads to delamination, bubbling, and markings that lift within months.
Follow these steps in order:
- Sweep and blow the surface. Remove all loose debris, sand, and dust with a power broom or blower. Any particle trapped under the marking creates a weak point.
- Degrease oil-contaminated areas. Fuel and oil spills are common in parking lots and drive-thrus. Apply a commercial degreaser, scrub, and rinse thoroughly. Oil contamination is one of the most common causes of adhesion failure.
- Pressure wash if needed. For heavily soiled surfaces or old markings, a water jet removes embedded grime that sweeping misses. Allow full drying time after washing.
- Dry the surface completely. TxDOT specifies that the surface must be free from moisture before thermoplastic is applied. Use heated blowers or wait for dry weather. In cool climates, a propane preheater removes surface moisture and raises pavement temperature simultaneously.
- Apply primer on low-bitumen or concrete surfaces. Geveko Markings recommends Thermo Primer on concrete and old asphalt with little remaining bitumen content. Primer dries fast, reduces health hazards compared to older solvent-based options, and creates a chemical bond that raw thermoplastic cannot form on its own.
- Check surface and air temperature. Both must be above 50°F to 55°F for proper adhesion. Applying thermoplastic to cold pavement causes rapid cooling that prevents the material from bonding correctly.
| Condition | Acceptable | Not Acceptable |
|---|---|---|
| Surface moisture | Completely dry | Any visible dampness |
| Air temperature | Above 50°F | Below 50°F |
| Surface temperature | Above 55°F | Below 55°F |
| Old markings | Firmly adhered | Loose, peeling, or raised |
| Substrate type | Primed if concrete | Unprimed concrete |
Pro Tip: Do a simple moisture test before you prime: tape a piece of plastic sheeting to the pavement and leave it for 15 minutes. Condensation on the underside means the surface is not ready.
What are the step-by-step procedures for applying thermoplastic markings?
With a clean, primed, and preheated surface, you are ready to apply. Precision at this stage determines whether your markings look professional and last for years.
Heating the material
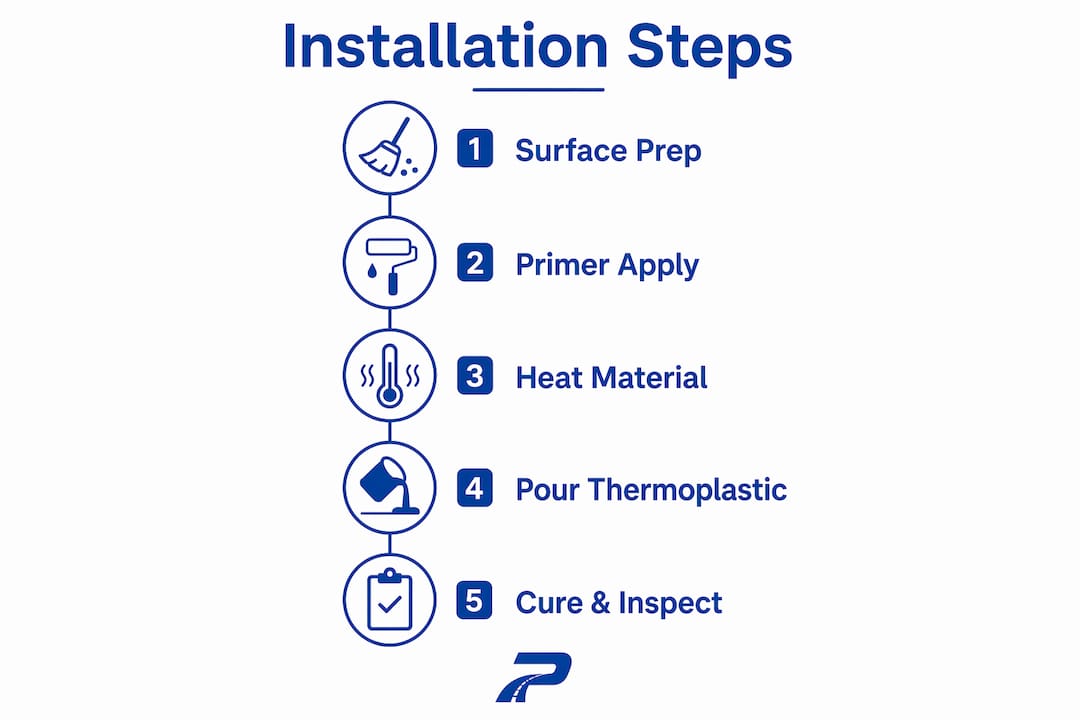
Load your thermoplastic blocks or granules into the melter and heat to the manufacturer-specified range. Proper working temperature sits between 180°C and 220°C (350°F to 450°F). Do not exceed the upper limit. Overheated thermoplastic degrades chemically, loses its binding properties, and produces fumes. Use your thermocouple to verify temperature before you begin applying.
Laying out your lines
Pre-mark all line positions with chalk or a chalk line before you touch the applicator to the pavement. Measure twice. Thermoplastic sets in minutes and corrections are costly. For roads and parking lots, follow your jurisdiction's striping specifications for line width, spacing, and color. Pinnaclepave's thermoplastic roadway marking guide covers compliance requirements for Tennessee DOT-grade applications if you need a reference point.
Applying the material
- Position your applicator at the start of the line. Open the gate valve and begin moving at a steady, consistent pace.
- Maintain consistent speed throughout the pass. CyPaint's research confirms that steady applicator speed is the single biggest factor in achieving uniform thickness and straight edges. Slowing down creates thick spots; speeding up creates thin, weak sections.
- Keep the material at working temperature. Insulated hoses and a well-maintained melter prevent the material from thickening mid-pass. If you notice the flow slowing, stop and check your temperature before continuing.
- Apply glass beads immediately. Glass beads must be dropped onto the still-hot surface right behind the applicator. Once the marking starts to cool, beads will not embed properly and retroreflectivity drops significantly. This matters most for nighttime visibility on roads and parking lots.
- Complete the pass without stopping. Stopping mid-line creates a visible seam and a weak adhesion point. Plan your route so you can complete each line in a single continuous pass.
Curing and inspection
Thermoplastic dries in 5 to 10 minutes under normal conditions, though humidity and cold temperatures extend that window. Keep traffic off fresh markings until they are fully set. Walk the completed markings and check for thin spots, missed bead coverage, or edges that lifted. Address any issues before opening the area to traffic.
Pro Tip: Apply a test pass on a scrap piece of cardboard or an inconspicuous area first. This confirms your temperature, speed, and bead dispenser are all calibrated before you commit to the visible surface.
What are common challenges when installing thermoplastic markings?
Even experienced crews run into problems. Knowing what to watch for prevents small issues from becoming expensive rework.
- Uneven thickness: Usually caused by inconsistent applicator speed or temperature fluctuations. If you see thick and thin sections in the same line, check your melter temperature and practice maintaining a steady walking pace before the next pass.
- Poor adhesion or lifting edges: The most common cause is moisture or contamination on the surface. Inadequate surface prep accounts for the majority of thermoplastic failures. If edges are lifting on a fresh marking, you can sometimes reheat them with a propane torch and press them down, but prevention is far more reliable than repair.
- Bubbling or pinholes: Moisture trapped beneath the marking turns to steam when it contacts the hot thermoplastic. This is a direct sign that the surface was not fully dry before application.
- Cold weather application problems: Applying in temperatures below 50°F causes the material to cool too fast, resulting in poor flow and weak bonding. Schedule thermoplastic work for warmer parts of the day and use preheaters aggressively in marginal conditions.
- Glass bead loss: If beads are brushing off shortly after application, they were applied too late or the material had already started to skin over. Adjust your dispenser position so beads drop within inches of the applicator gate.
Thermoplastic markings are preferred for their durability and weather resistance compared to paint and tape, but that durability depends entirely on correct installation. A marking applied to a wet or contaminated surface will fail faster than standard paint.
For long-term performance, inspect markings annually and address any areas showing wear or delamination before they spread. Understanding your pavement substrate also helps you anticipate where markings are most likely to need maintenance over time.
Key takeaways
Successful thermoplastic marking installation depends on three non-negotiable factors: a clean, dry, properly primed surface; material held at 350°F to 450°F throughout application; and consistent applicator speed with immediate glass bead placement.
| Point | Details |
|---|---|
| Temperature control is critical | Heat thermoplastic to 350°F–450°F and monitor continuously to prevent premature thickening. |
| Surface prep determines longevity | Clean, dry, and primed surfaces are the foundation of markings that last years, not months. |
| Glass beads must go on immediately | Drop beads onto still-hot material right behind the applicator to achieve proper retroreflectivity. |
| Consistent speed prevents defects | Steady applicator pace produces uniform thickness and sharp edges throughout every pass. |
| Weather conditions affect results | Avoid application below 50°F air temperature or on any surface with visible moisture. |
What I've learned after years of thermoplastic work
The part of thermoplastic installation that most guides underemphasize is how unforgiving the material is when conditions are even slightly off. Paint gives you some margin for error. Thermoplastic does not. I have seen crews with solid experience produce substandard markings simply because they skipped a moisture check or let their melter temperature drift 30 degrees low during a long job.
The investment in a quality infrared thermometer pays for itself on the first job. Guessing at material temperature is how you end up with markings that look fine on day one and start lifting by week three. The same applies to surface prep. Spending an extra 20 minutes degreasing and drying a problem area is always faster than coming back to redo it.
One thing I tell every crew working with Pinnaclepave: measure your lines before you heat your material, not after. Once that kettle is at temperature, you are working against the clock. Pre-marking every position, double-checking dimensions, and confirming your layout is correct before you start the melter removes a major source of costly mistakes.
The advantages of thermoplastic markings over paint are real, but they only materialize when the installation is done right. Thermoplastic applied correctly to a properly prepared surface will outlast paint by a factor of three to five in high-traffic conditions. That durability is the reason municipalities, DOT contractors, and commercial property owners choose it. But the material does not perform on its own. The crew, the equipment, and the process behind it are what make the difference.
— Dillan
Professional thermoplastic marking services from Pinnaclepave

Pinnaclepave handles thermoplastic marking projects across Tennessee for municipalities, commercial property owners, and contractors who need DOT-grade results without the learning curve. From stop bars and crosswalks to parking lot striping and sports court layouts, the Pinnaclepave crew brings professional melter equipment, certified applicators, and drone-documented results to every job. If you are planning a project and want it done right the first time, explore Pinnacle's thermoplastic services or visit Pinnacle Pavement Solutions to request a quote and get project-specific guidance from a team that does this work every day.
FAQ
What is thermoplastic marking?
Thermoplastic marking is a road and pavement marking system made from solid thermoplastic material that is heated to 350°F to 450°F and applied in a molten state. It cures quickly, bonds to asphalt and concrete, and produces a durable, skid-resistant surface marking.
How long does thermoplastic take to dry?
Thermoplastic markings typically dry in 5 to 10 minutes depending on air temperature and humidity. Traffic should stay off fresh markings until they are fully set to prevent damage or displacement.
Do you need primer for thermoplastic markings?
Primer is required on concrete and low-bitumen asphalt surfaces to create a strong chemical bond. On standard asphalt with adequate bitumen content, primer is generally not necessary, but the surface must still be clean and dry.
What temperature is needed to apply thermoplastic?
The material must be heated to between 350°F and 450°F for proper flow and adhesion. Both air and surface temperatures should be above 50°F to 55°F at the time of application.
How long do thermoplastic markings last?
Thermoplastic markings last significantly longer than paint in high-traffic conditions, often three to five times longer when installed correctly on a properly prepared surface. Longevity depends on traffic volume, climate, and the quality of surface preparation at installation.